HAND SEWING {ON PAPER}
Happy Tuesday, everyone!
Sorry I’ve been MIA for a few days, I had a pretty crazy weekend of hosting a bridal shower, celebrating my sister’s 30th birthday, and having a Chinese New Year get together with the family. I was so exhausted today at work, I am already anticipating this upcoming weekend big.time!
I thought I’d start the week with a tutorial on a little hobby I’ve picked up recently-hand sewing. I found some tutorials on Pinterest, but honestly they were a bit confusing. I eventually figured it out, and decided to write a tutorial of my own. This one makes sense to me, and hopefully it will makes sense to you too. (Oh, and get excited for my video tutorial debut at the bottom of the post!)
Hand sewing is so fun and the possibilities of design, words, fonts are endless.
Here’s what you’ll need:
-Embroidery floss (colors of your choice)
-Embroidery needle
-Self-healing mat
-Push pin (or safety pin)
-Cardstock
How-To:
Make a template of the word/words/image that you want to sew. I chose to use my own handwriting, but you could choose a font you like and print something from your computer.
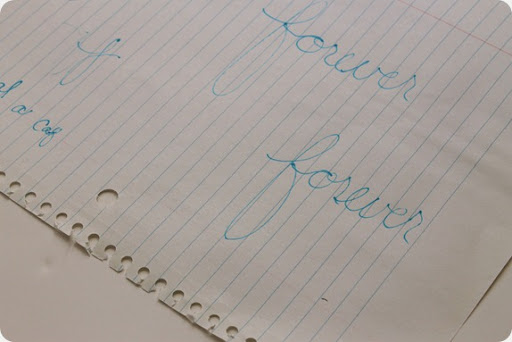
Since it’s Valentine’s Day season I thought I’d make something lovey dovey. I like very simple designs and wording, so I simply went with “forever.”
Cut your word out to make the template then tape it to a piece of cardstock
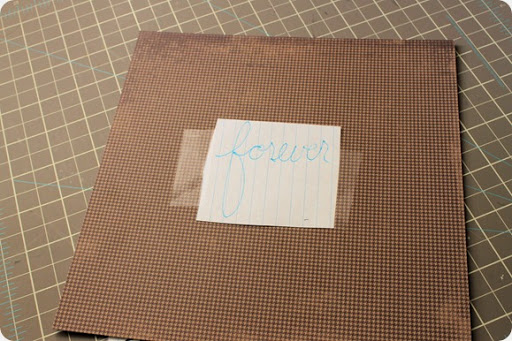
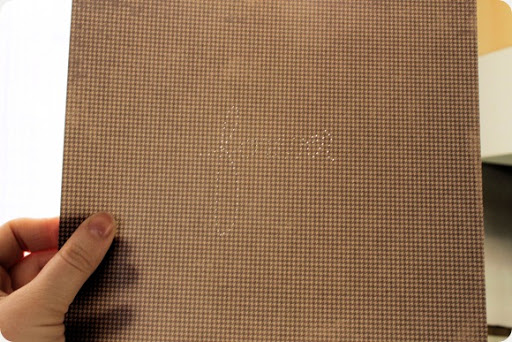
Use a push pin and punch holes along the lines of your letters (or an image). Space them out about an 1/8 inch. Follow along the natural pattern of how you would write the letter. The holes are going to be your guide to show you exactly where to put your needle when stitching.
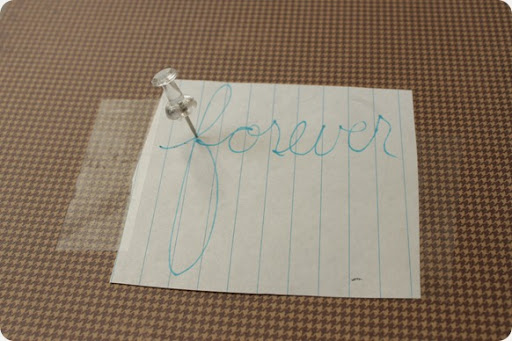
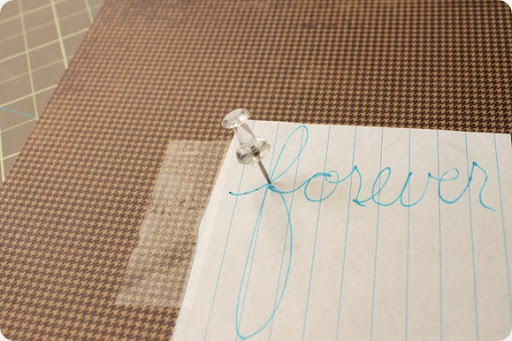
If you get to a point where lines intersect push the pin right in the middle of where all lines intersect and continue to follow the lines of the letters
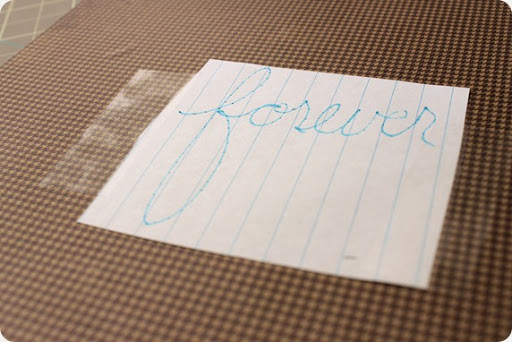
When you’re finished take the template off the cardstock and you are ready to sew!
Hand sewing how-to:
Cut an arm’s length of embroidery floss. The floss is made of up 6 individual strands of thread.
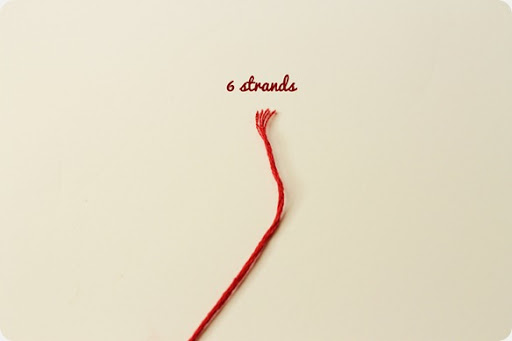
Separate the floss down the middle so you have two pieces with 3 strands in each. To separate hold three strands in each hand and slowly begin pulling the floss apart.
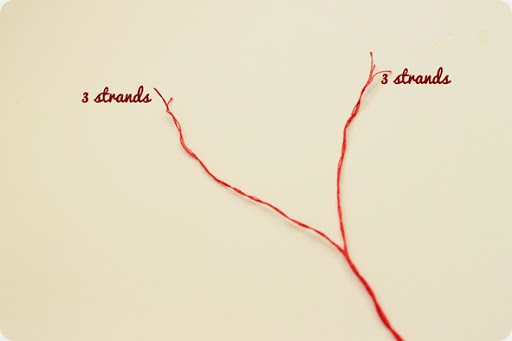
Take one of your new 3-strand flosses and set aside. Take the other 3-strand floss and fold it in half. Now you should have 6 strands again on the end!
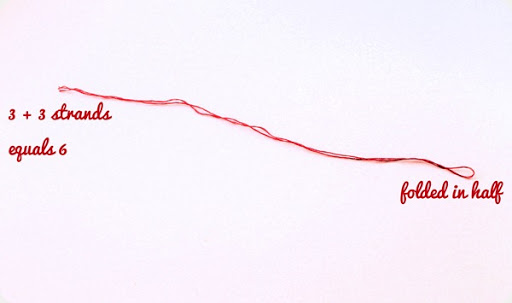
Thread the 6 strands through an embroidery needle.
Now we’re going to secure the floss to the paper. Using the holes you punched in your template as guide, find the first hole at the end of the letter (or image). Push the needle, from the back of the paper to the front, through the first hole.
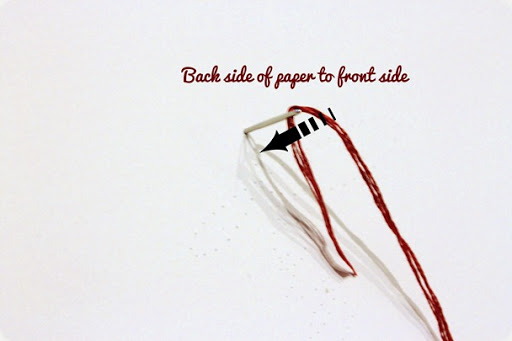
Your needle should now be on the front side of the paper. Pull the floss through, but not all the way. There should be a loop left on the back side of the paper.
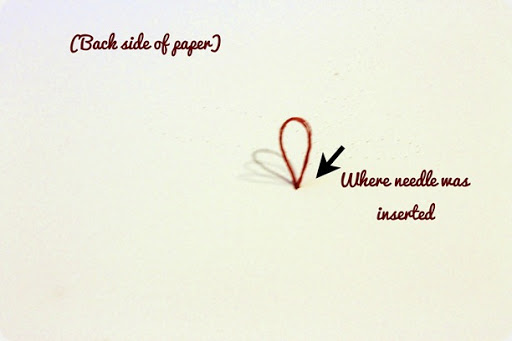
Sorry for the blurry picture.
Now that the needle is on the front side of your paper, push it back down through your paper from front to back using the next hole in your punched guide. There should now be a stitch in the front of your paper.
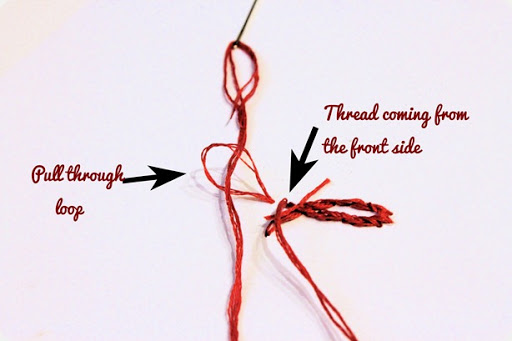
With your needle now in the back of your paper, thread it through the loop that you left. Pull tight. Your thread is now secure on your paper!
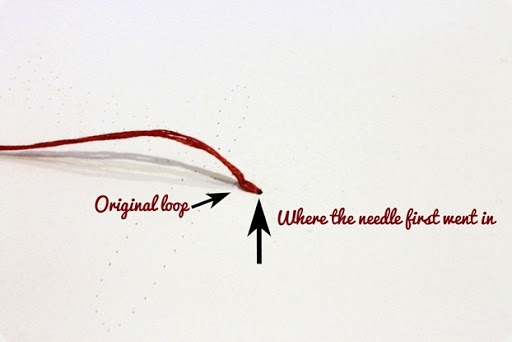
For this hand sewing we’re going to use a backstitch.
Going from the back of your paper to the front push the needle through the next hole in the guide. Pull the thread through to the front.
Now, you’re going to stitch backward (hence the name “backstitch”) into the previous hole. Pull the thread through to the back to create another stitch.
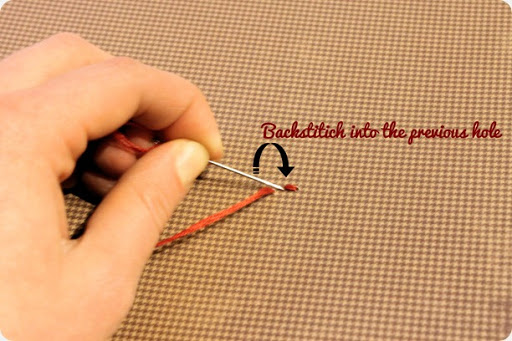
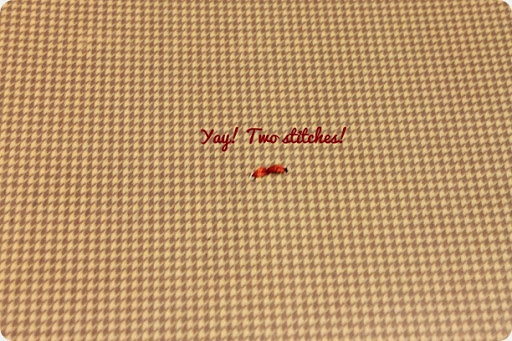
With your needle now in the back of the paper, proceed to the next hole in your guide and push the needle towards the front.
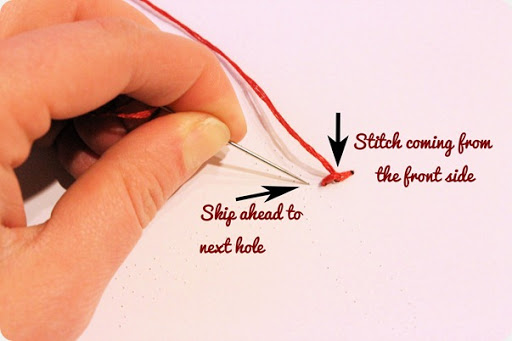
Keep following the guide of the holes your created with the push pin using the same steps (stitch back to front, back stitch).
The back should look like this:
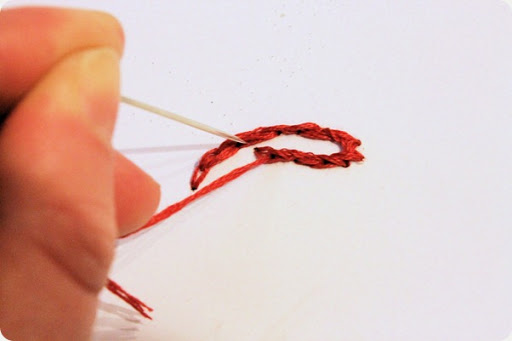
The front should look like normal, continuous stitching.
In case these directions aren’t clear enough for ya I even made a little video!
When you’re finished, or when the floss is almost gone, here’s how to tie off your stitch.

With your needle on the back side of your paper take 3 of the 6 strands out of the needle eye.
Thread the needle (with only 3 strands in it!) under any stitch and pull through.

Now the two sets of 3-strands should be on the same side of the stitch. Tie them and make several knots.


Trim the excess, and you’re now secure! Oh, and because I have nothing better to do I made a video on how to tie off your thread too!
If you are not finished stitching your letters/image then follow the same steps from above to start and secure your new thread. Start in the next hole on your guide with the new thread and push the needle to the front.
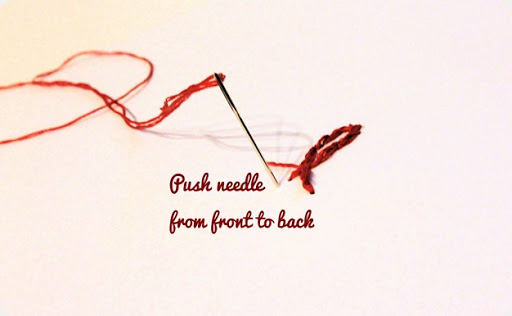
Remember not to pull the thread completely through, and to leave a loop in the back!
With your needle and thread in the front backstitch back into the last stitch from your old thread.
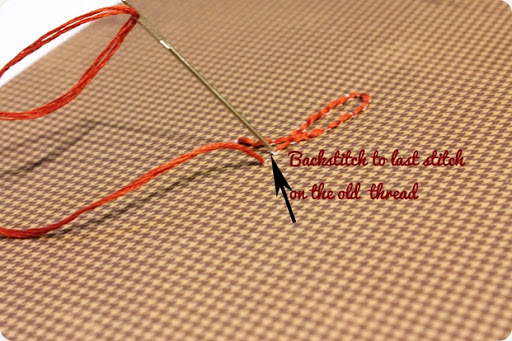
Pull your needle through the loop in the back to secure the thread and continue with the backstitch pattern until you are finished!
My finished “forever” turned out quite cute I think.
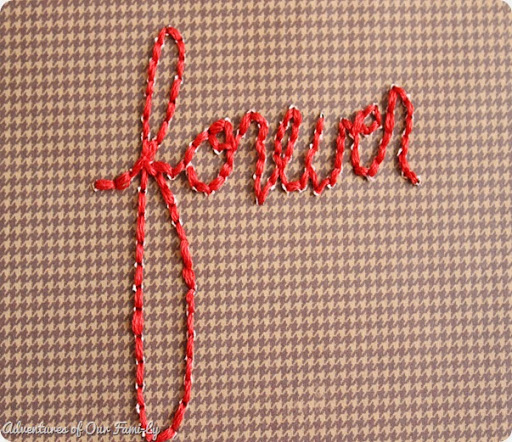
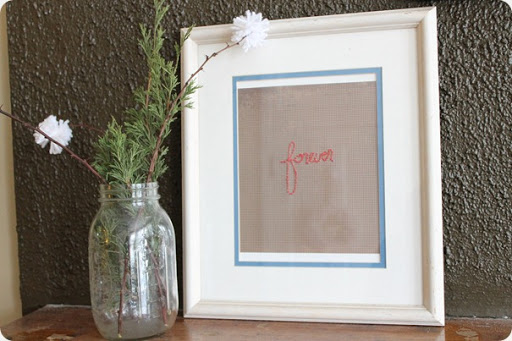
I framed it and put it on the mantle next to the mini pom-poms I made about a month ago.
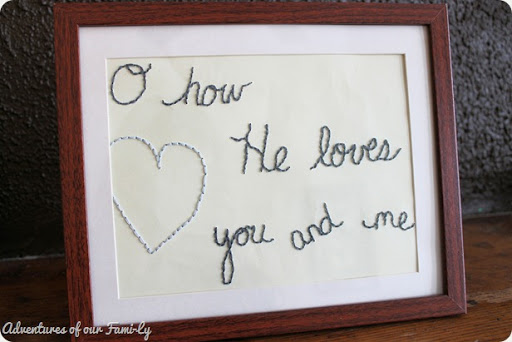
I also made this one to remind me of the perfect love I experience with the Lord.
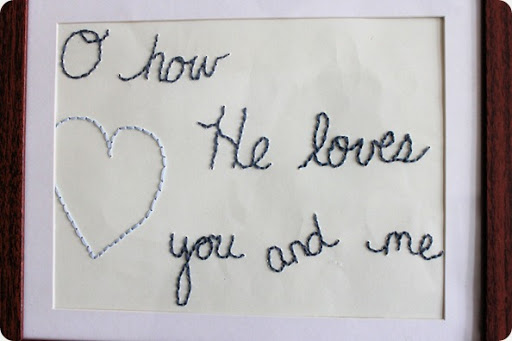
See the crinkling in the paper? That’s what using flimsy card stock will do.
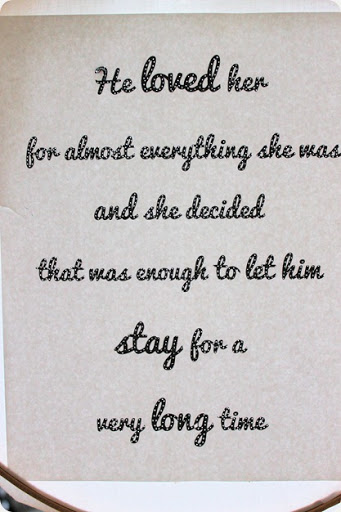
Oh, and just because I’m completely crazy and think that I have all this time on my hands, I’m also going to get started on this:

Leave a Reply